Sunday 19 June 2011

Finished - Officially.

Check out my next project: http://emma-kayak.blogspot.com/

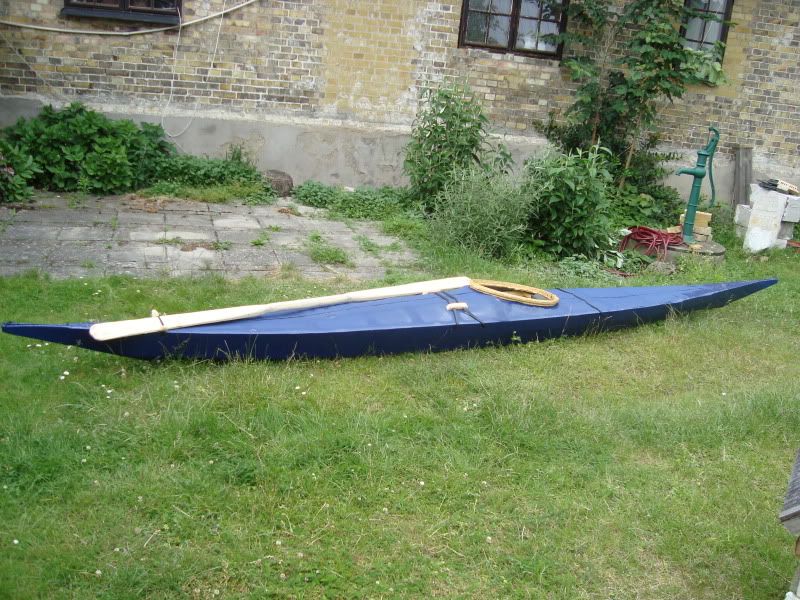
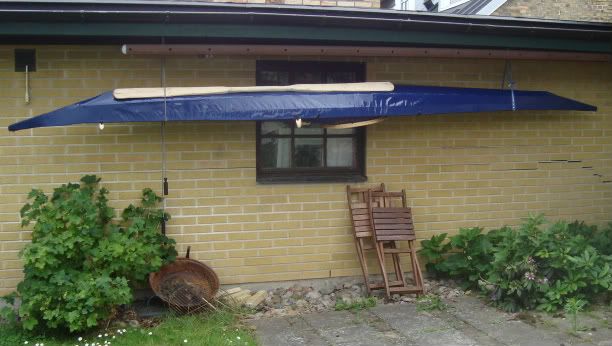
well, i've made the Deck lines now, and checked over the paint job properly.. so now the kayak is officially finished!

Photobucket


Photobucket

Photobucket

Photobucket

Sunday 12 June 2011

Paddling

Two months since I finished it, I finally had time to go out for another paddle...

this time it felt a lot better than last time. The waterline is around the bottom of the gunwhales at the seat, and while it is fairly unstable, it is possible to balance. :P

Photobucket

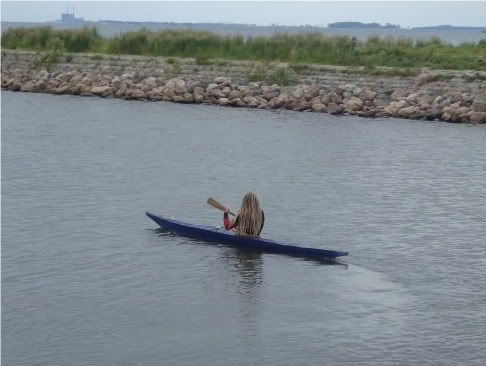
I paddled for just over an hour, going 1.7 KM and back again, and on the way I rolled over 3 times, and because I haven't practiced rolling back up yet had to get out of it and pull it to shallower water so I could empty out the water and get back in. :P

I'll still paint it, and make deck lines, somewhere down the line, but next weekend I'm planning on going shopping for wood for my gf's kayak. :D

Photobucket

Friday 20 May 2011

Finished

Well, i did actually finish it and paddle it two weeks ago, but completely forgot to post it here...

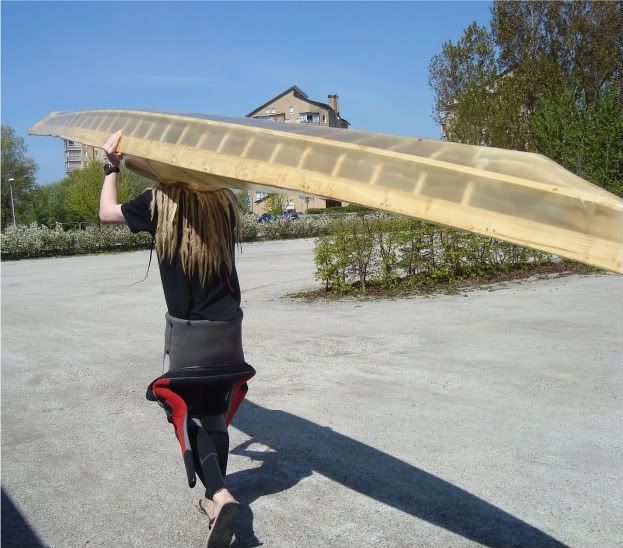
the finished boat weighs 17 kg, which is a fair bit more than i expected, but considering that it's mostly made out of pine, and i think the boat varnish i used was fairly heavy too, it's not really unexpected.

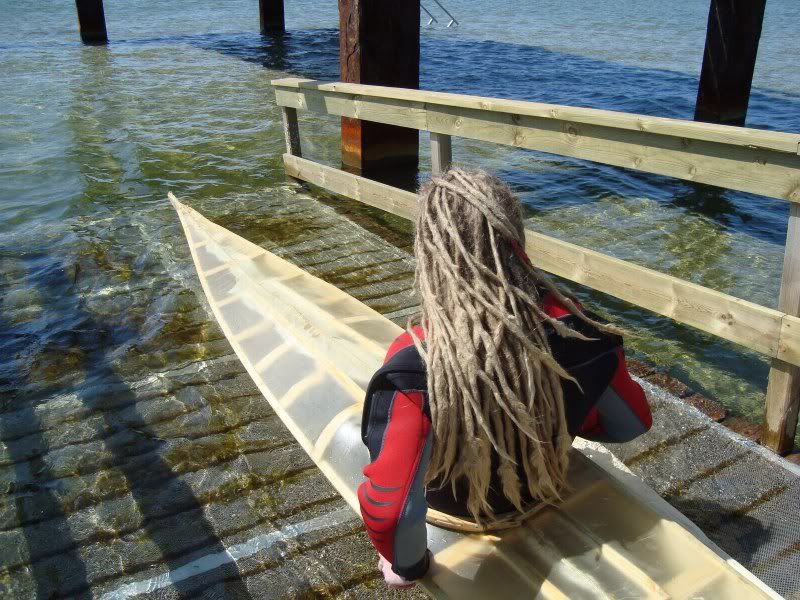
so, i carried it down to the water (5 minute walk)

Photobucket

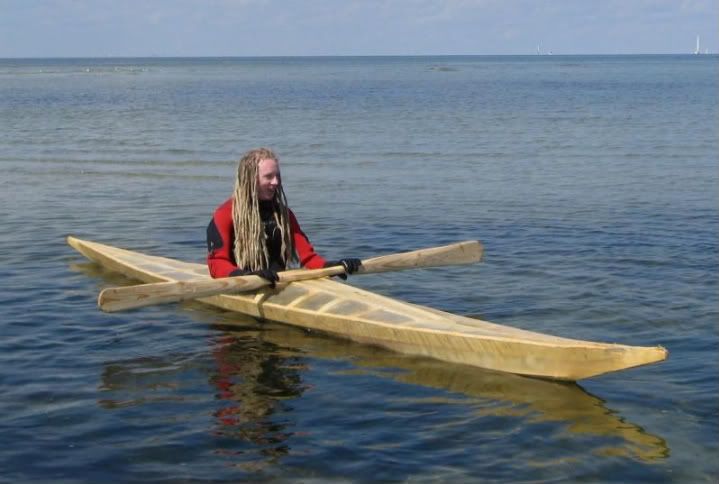
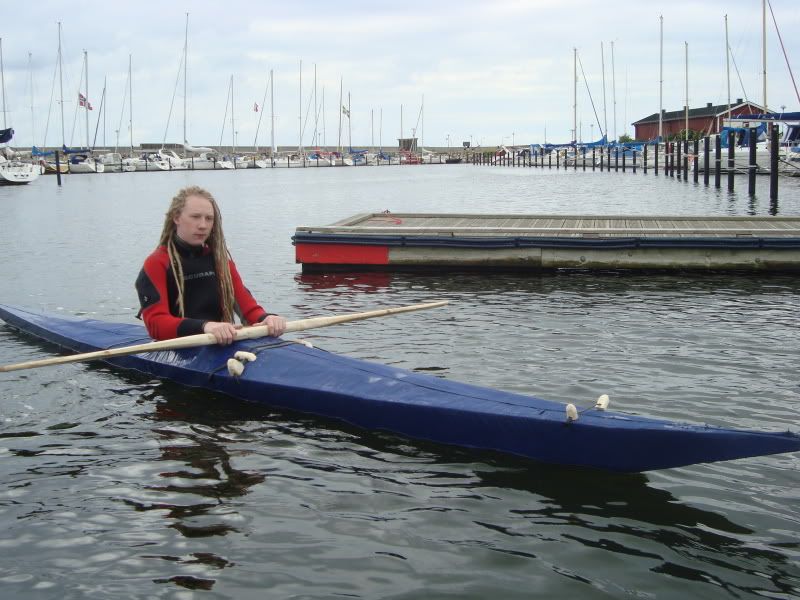
and got in (notice the wetsuit, i knew what i was getting into :P

Photobucket

unfortunately i don't have any pictures of me actually paddling it, as my girlfriend filmed it and forgot to take pictured, i'll probably put the film up later though.

basically, as i got in and pushed out, all went well, and it stayed afloat.
however, it's very high in the water, so i think i've made it a bit too big.
and of course being higher up than expected made it even less stable than expected, so i spent about half an hour floundering around, managing to stay paddling for about 20 metres before tipping to the side and letting in water because i had no chapel or tuuliq.

and of course, on my first paddle i did sink, once it got too full of water to stay up :P

i'm still gonna make some deck lines, and probably paint it red as i don't really like the transparent skin.

Wednesday 4 May 2011

Second coat

managed to get an early shift at work today, so i could make it out and buy some more varnish and give the kayak a second coating.

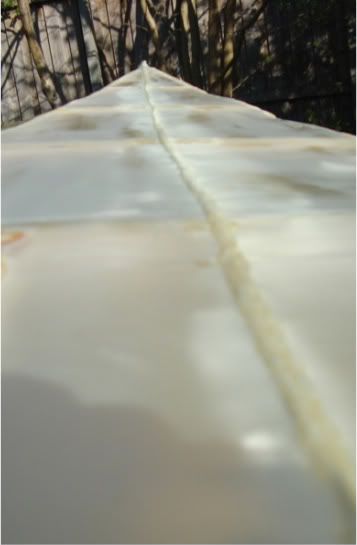
this picture is before i put it on, the first coat of varnish made the skin more transparent than i'd like, and it isn't quite as tight as it was when i skinned it, but it is a lot stiffer, and there were some water beads on it from the rain today so the skin seems waterproof already.

Photobucket

the seam down the middle still looks good, it's more or less straight, and it's narrow and flat.

Photobucket

and, after a second coat of varnish:

Photobucket

overall, i think it looks fantastic, but i'm definetly going to slap a coat of paint on it as the skin is nearly completely transparent.

Sunday 1 May 2011

Skinning and coating!

as you've noticed by now, i don't own my own camera... so unfortunately no pictures of this important and exciting part of the build :<
i will upload pictures when i go out during this week though.

i went out saturday morning, and went to the boat shop, and spoke to the guy there, he figured normal boat varnish should do it, he wasn't sure it would stick to the cloth, but i'm feeling positive. :P
i got one can that's supposed to last something like 14-15 square meters.

i started putting the skin on around 3pm.

at 9 i had stiched up the middle, and twice around the coaming.

i went up the next morning and spent an hour stiching all along the middle seam once more to reinforce it and around the coaming once more (doing the coaming with the dental floss too because i don't have a needle big enough for my lashing thread).

for the stretching, i made a pocket in one end, and pulled all i could on the other end, and marked how far it went, made another pocket there, and pulled it over the end, then i streched it sideways by sewing a large zig-zag pattern and tightening it a couple of times.

then i streched a thread of my lashing material from one end to the other and back, so i had two threads, i cut off the cloth about 5cm past the middle line, and then tucked the cloth in between the lines, and then i started sowing in one end, under the lines, to the masik, and then doing the same from the back end to the back rest.

i didn't have any nails to strech he coaming with, so it's not quite as tight as it could be, but i'd say it's tight enough.

and then i started applying the varnish, using a wide brush, i started with the seams and coaming, applying as much as i could, then did thetop side, and when i flipped it over i realised i'd used half the can of varnish... so in the end, when i ran out of varnish i still hadn't coated the sides, from the chines up to the gunwhales, and the shop i bought the varnish in isn't open on sundays.

luckily the other shop in town was open, so i bought a can of varnish there, though it's a different brand, and likely a different type, but nothing i can do about it, so i just painted it on the last bits, overlapping with the first varnish a bit, and i hope it will work out well.

so hopefully i can trade a couple of evening shifts this week to some earlier shifts so i can go out and put two more coats of varnish on it, and if all goes well i'm hoping to go for a paddle on saturday! :D
Tuesday 26 April 2011

pictures!

ok, went a while without access to a camera there, but now i finally managed it. :P

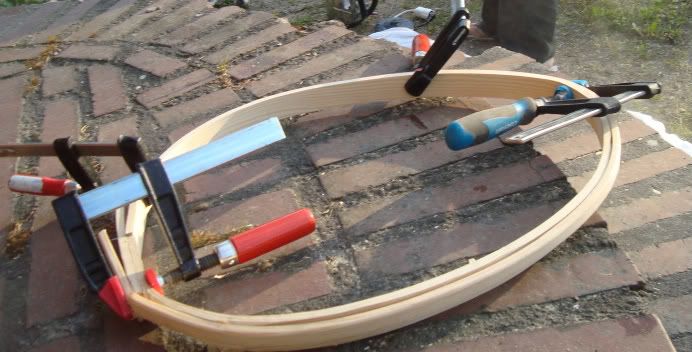
I made the coaming, with a flange all the way around:

Photobucket

it doesn't look too good in the back, but I'll smooth it over when i finish it, i had to put an extra piece of wood on there to hold it together that I'm planning on removing when i stich it together.

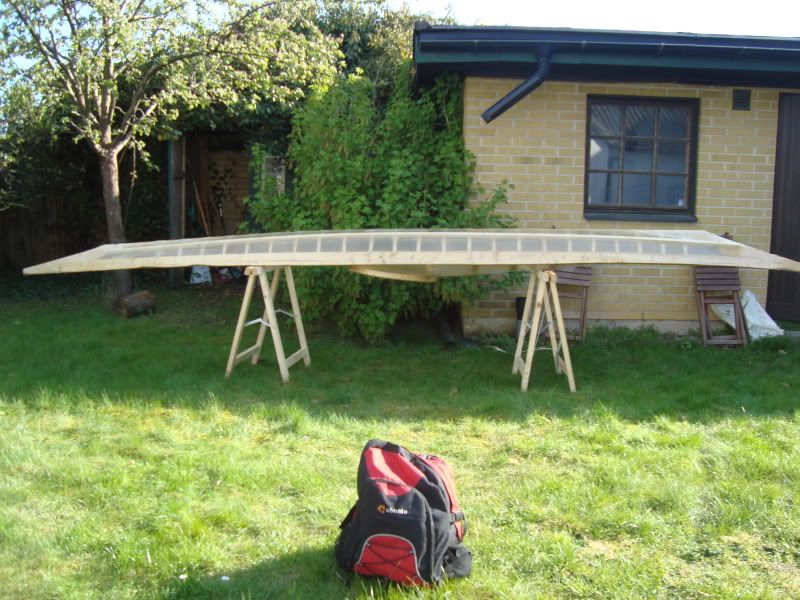
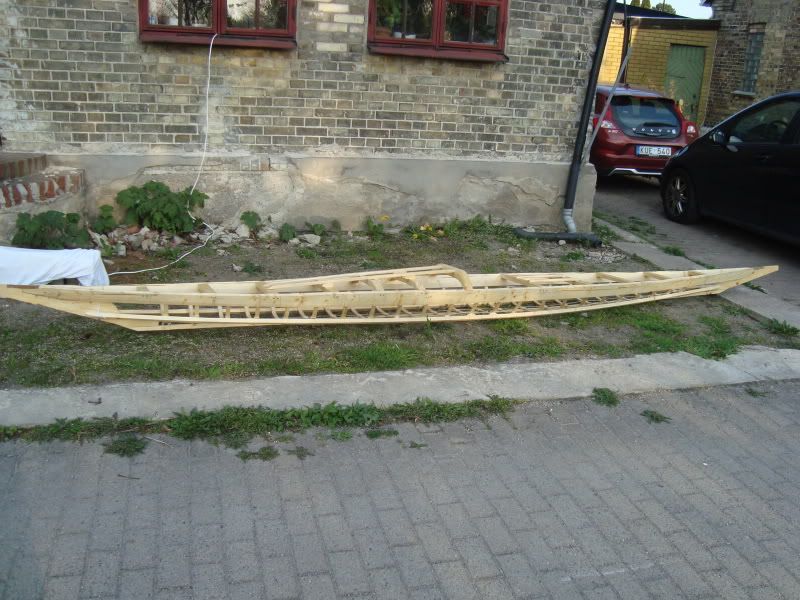
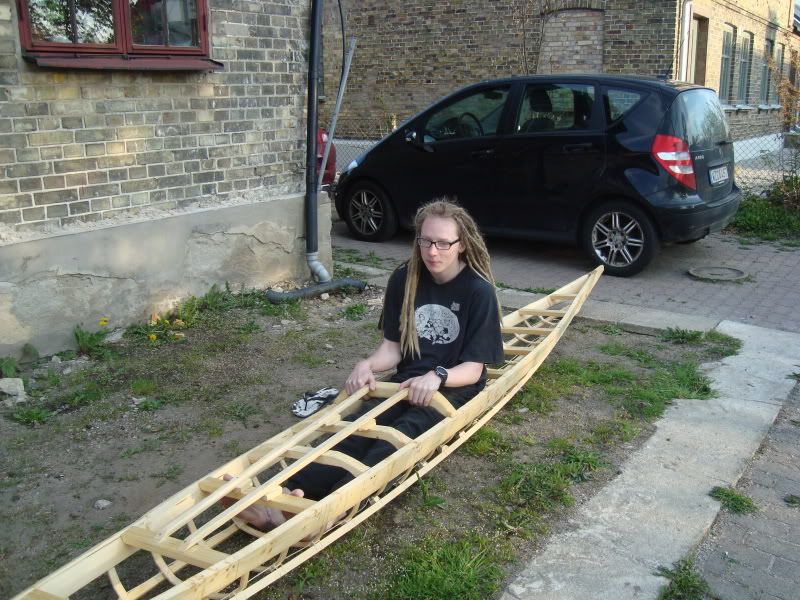
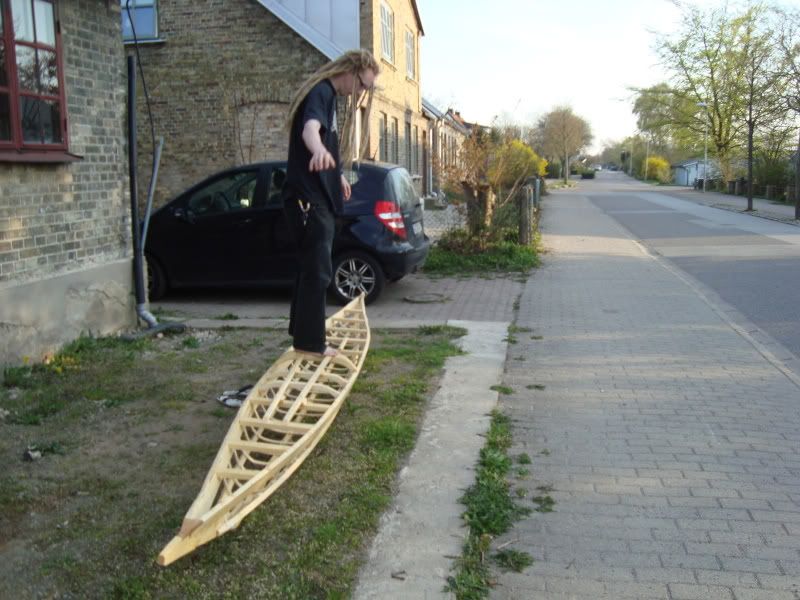
The finished frame:
Photobucket

Photobucket

and i think the masik is strong enough even though i cut it out of a straight piece instead of the curved one:
Photobucket

next weekend: skinning! :D

Wednesday 13 April 2011

Frame Finished!

I went out last night and put on the forward deck stringer, which means the frame is officially finished.

Work still needing to be done:
Oiling the frame (possibly twice)
Bending the coaming (the ring that will be around my waist)
Sewing on the skin.
Painting the skin to waterproof it.

I will upload some pictures of the finished frame next friday when i go out to oil it.