Sunday 27 March 2011

Day 5

I had another go at bending the ribs today.

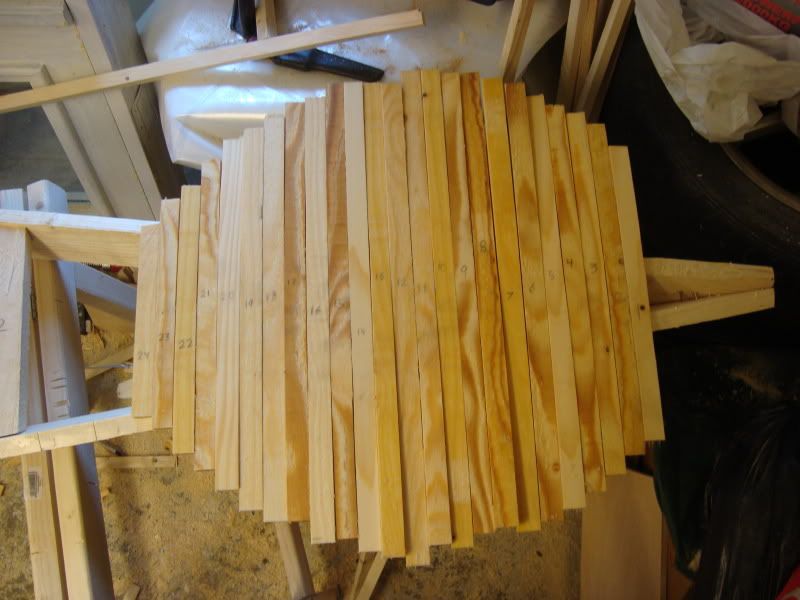
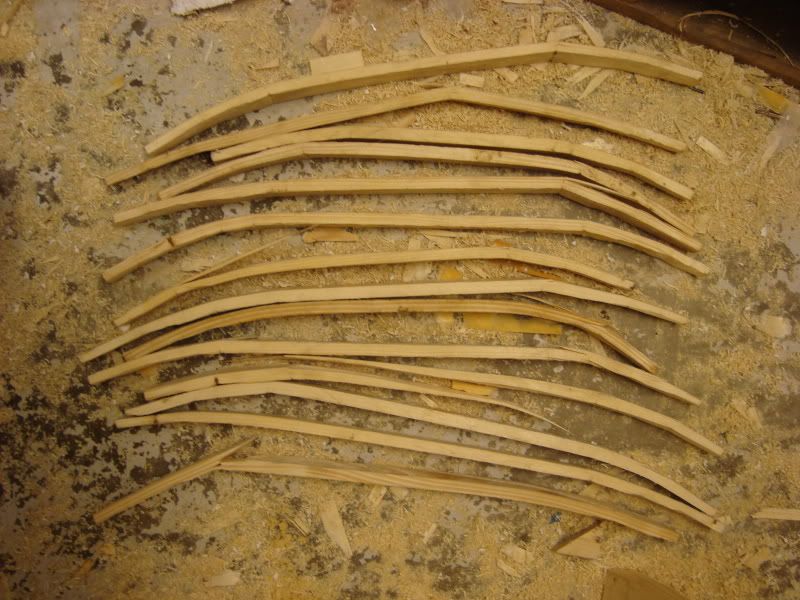
I cut out 5 pieces, and thinned the ends with a rasp, and cut the ends a bit narrower to fit in the mortises.
While they were in the steam box I prepared the next 5 ribs, this was a lot more efficient than what i did last week with cutting out all the ribs, and then just kinda standing around while they cooked in the steamer.

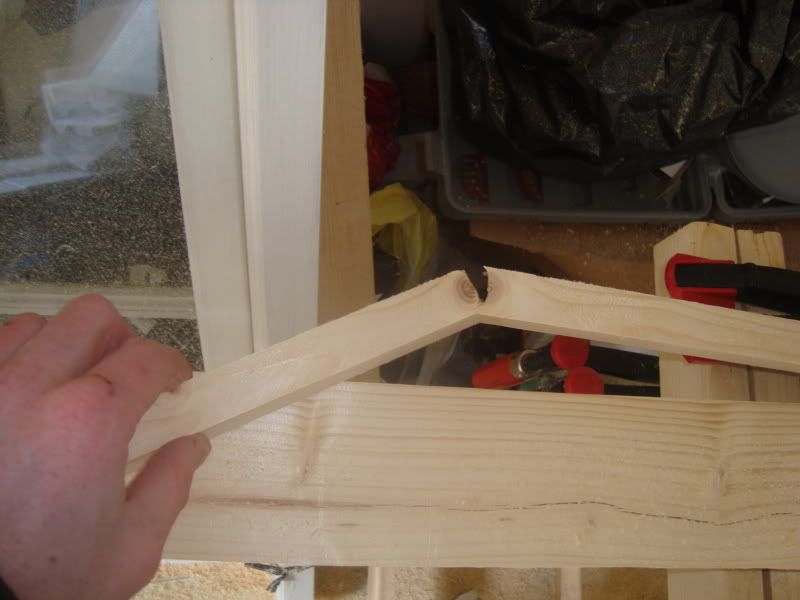
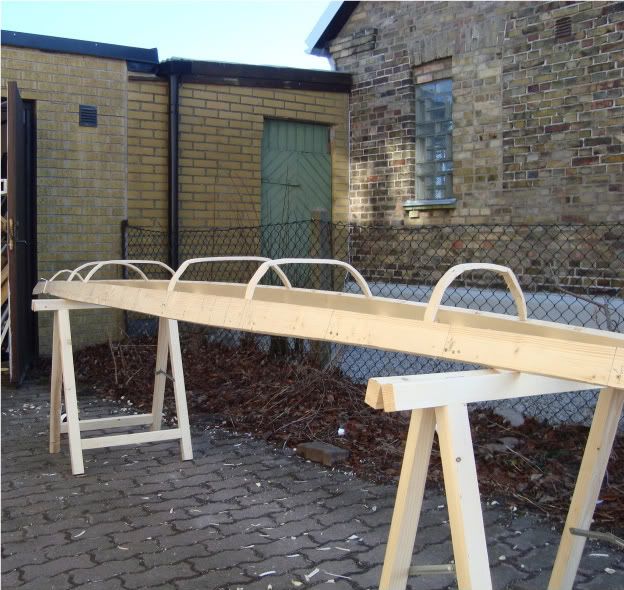
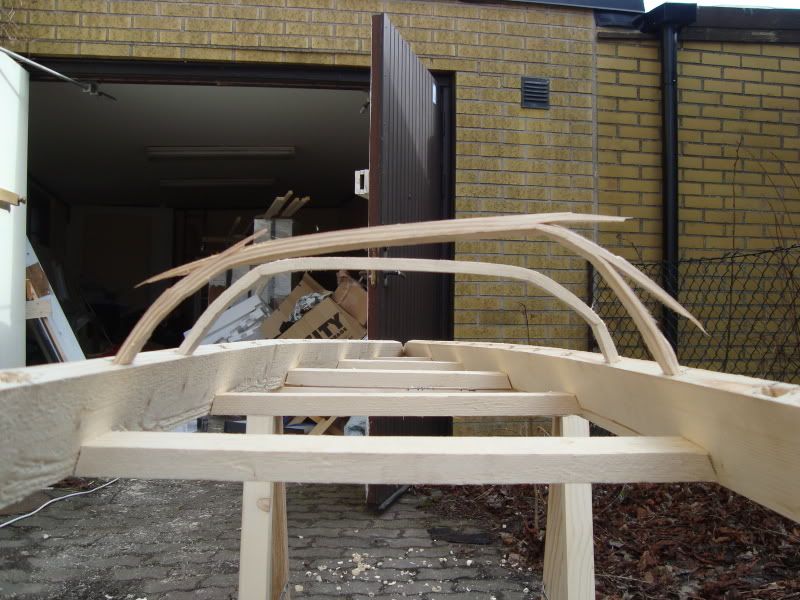
when i popped the first rib in the jig, it bent perfectly, no cracks, no groans, no places where it just bent 90 degrees instead of curving...
and when i fit it into the mortises it worked great.

I broke 5 or 6 ribs, out of 23, and 3 of them was the 24'th rib which i decided to skip after breaking 3 of it.
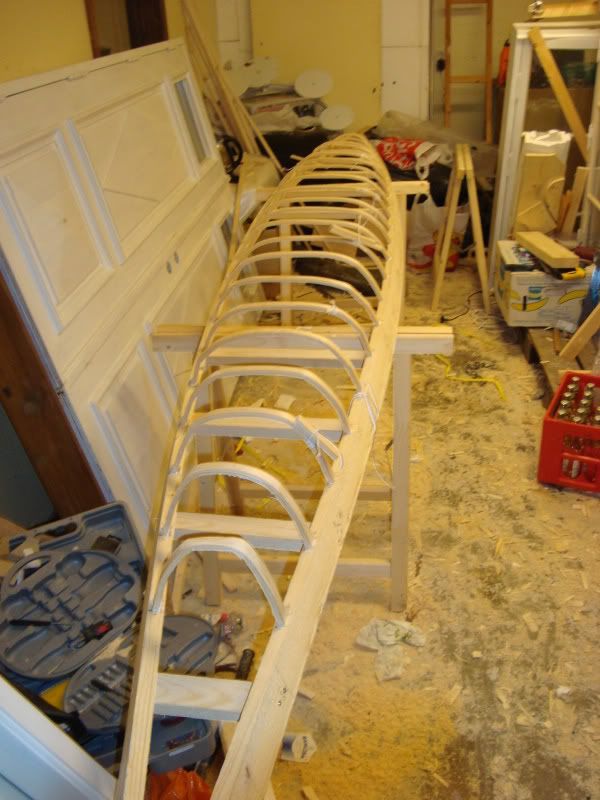
Photobucket

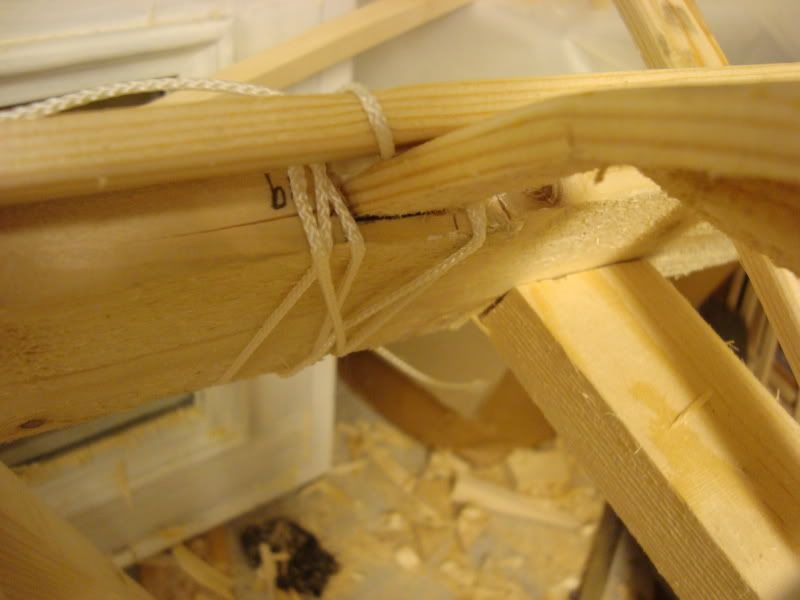
there were some minor cracks on 4 or 5 ribs, but i threw some wood glue in and tied it up and it should work fine.
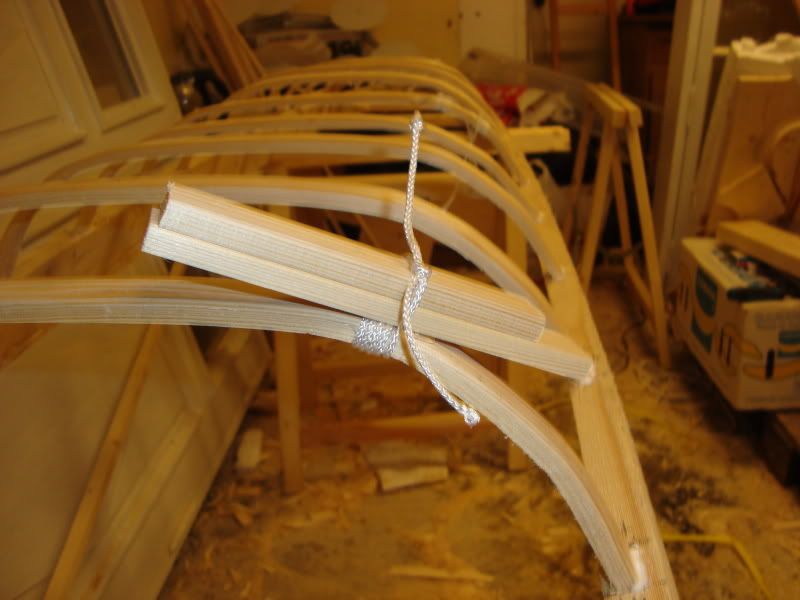
Photobucket

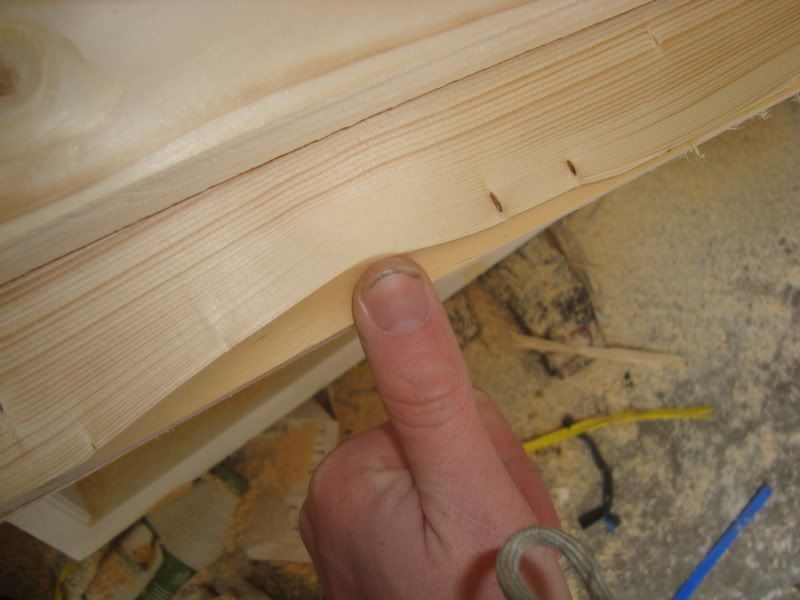
One of the gunwales split a little bit too, but again, some glue and pressure should help, and it was near one of the ends anyways.
Photobucket

Not that much to report... all in all a perfect day. all ribs cut, bent and fitted in about 5 hours.

Also, my skin arrived in the mail, but I didn't find out until the post office closed so I'll get it next weekend when I go out there.
Sunday 20 March 2011

Day 4

Well, I expected to break a lot of wood this weekend...
However, I still expected to be able to make all the ribs with the wood i had. (I even made sure the grain was the right way because i read someone else's blog about that)

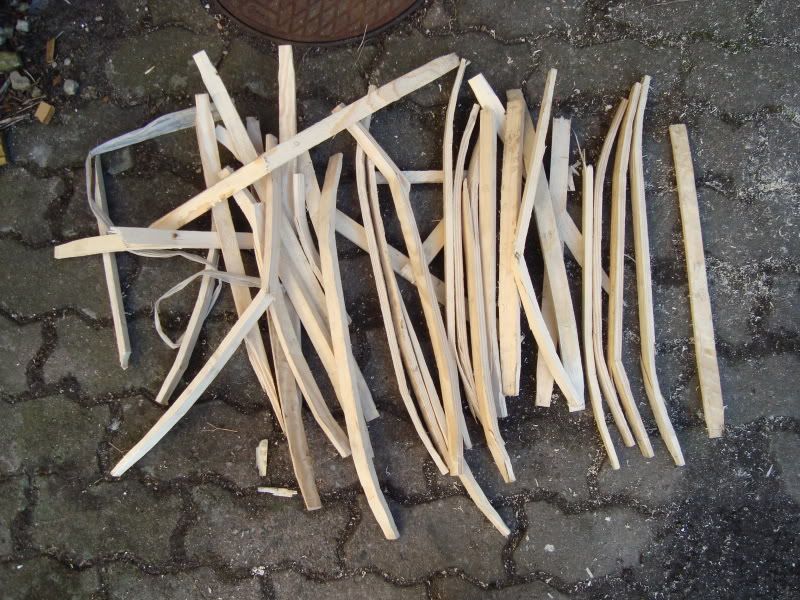
Of the 30 or so meters of wood i had, i managed 6 ribs that were... not good enough... but not broken in two...

Photobucket

I had them soaking in water for 4-5 days before bending them, the steam box worked well (scalded my finger quite a lot because i had a hole in my glove), but regardless, they all cracked a little bit when I bent them in the jig, which of course only got worse when I tried to bend them into the mortises.

Photobucket

Photobucket

In total I think I broke near 40 ribs.
I tried steaming them shorter time (10 minutes) and I tried longer (all the way up to 25).
steaming them for longer helped a bit, but they still buckled and cracked rather than bend smoothly.

I think the main problem was the wood. it was very cheap and low quality.
However another problem was that I didn't have the necessary tools to make the thinning near the ends smooth. I just thinned them with a knife, and i saw that more than one of the breaks were in spots where I'd made it a bit too thin with the knife.

As I ran out of wood around 3 I decided I needed to try to get some other wood for my next attempt.
We went to the same place, as the only other place I could possibly get lumber within a 2 hours drive isn't open on sundays.
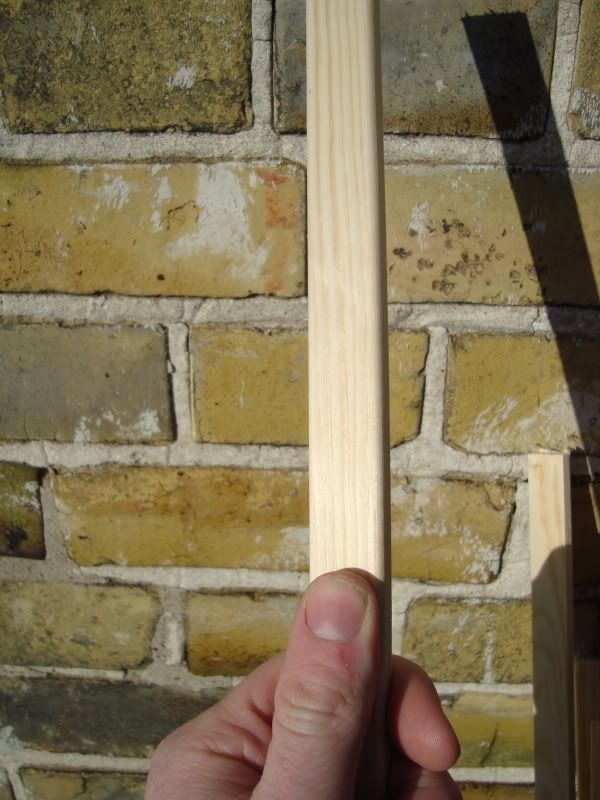
We found some "List" wood (google translate was not helpful here, baseboard?).
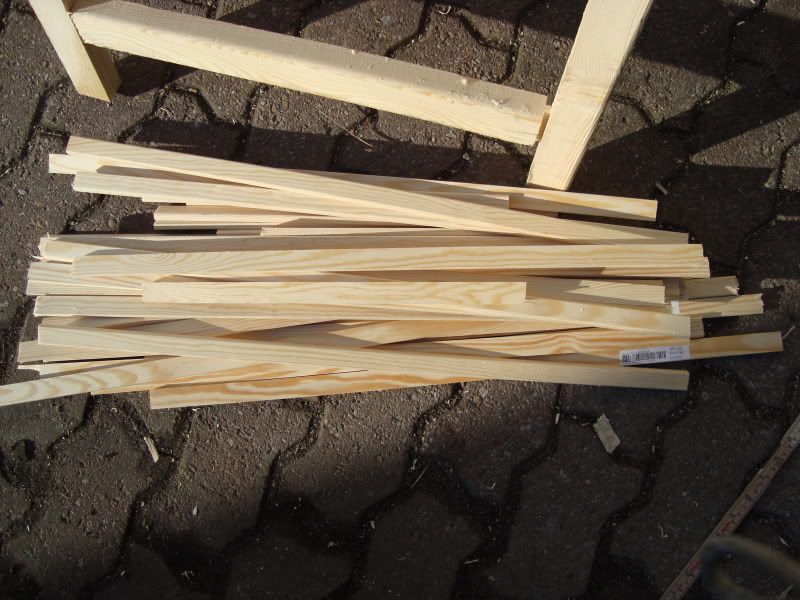
It was 21mmx8mm, and cost 5 Swedish a meter. absolutely perfect!
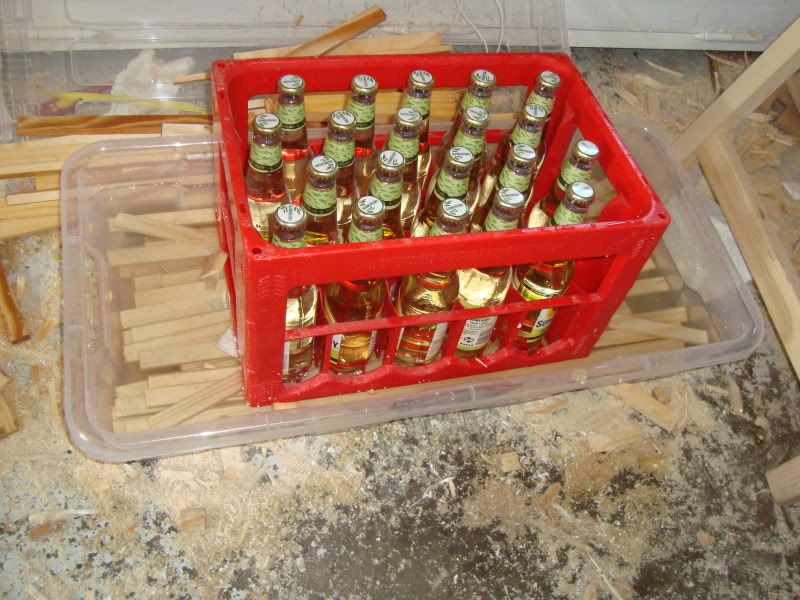
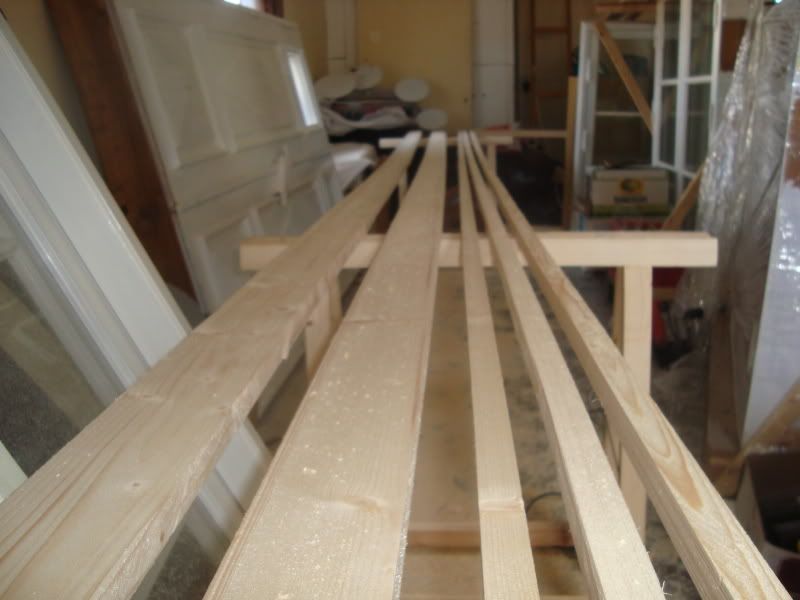
I bought 21 meters, cut it up to fit in my box, and set it all to soaking.

Photobucket

Photobucket

Photobucket

There's still some diagonal grain here and there, but mostly it looked good, and the wood felt a lot better than the first batch, and i was able to bend this a bit already, so i'm expecting it to get better with soaking and steaming.

We'll have to see, but i may not have the time to go out and give it a try next weekend, so it may get 2 weeks of soaking. :P

Saturday 19 March 2011

Day 3

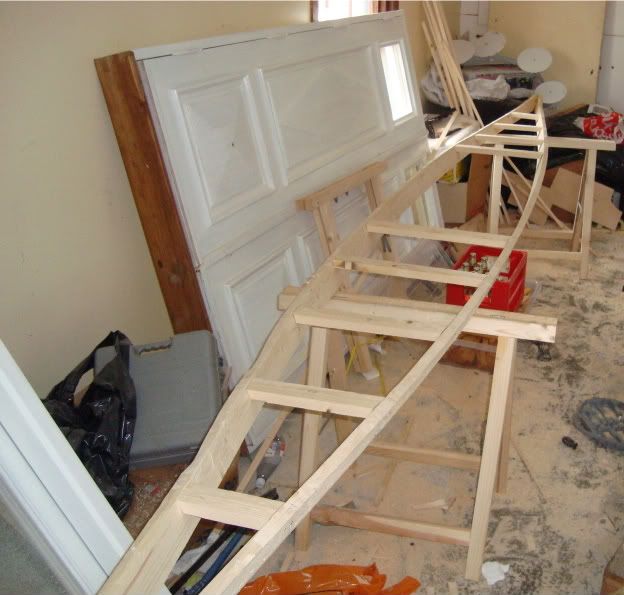
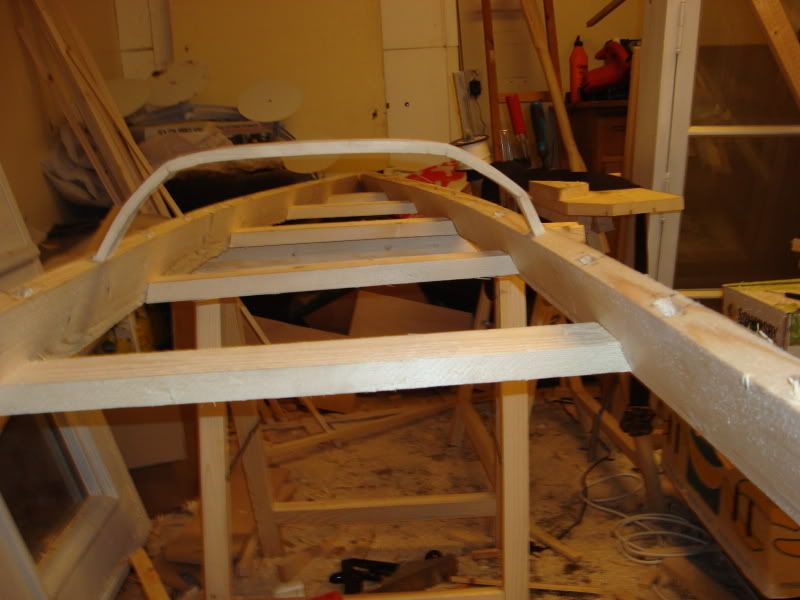
last week i fit the deck beams in, and attached them with screws.

Photobucket
Photobucket

I started this morning by cutting the ribs to length.

Photobucket

I then spent two and a half hours making sure all the ribs fit into the mortises.
the rounded holes made by the router were a bit too narrow, so i had to make them all a couple of mm wider, and if i do this again i'll definetly get an 8 mm chisel for the short side of the hole.
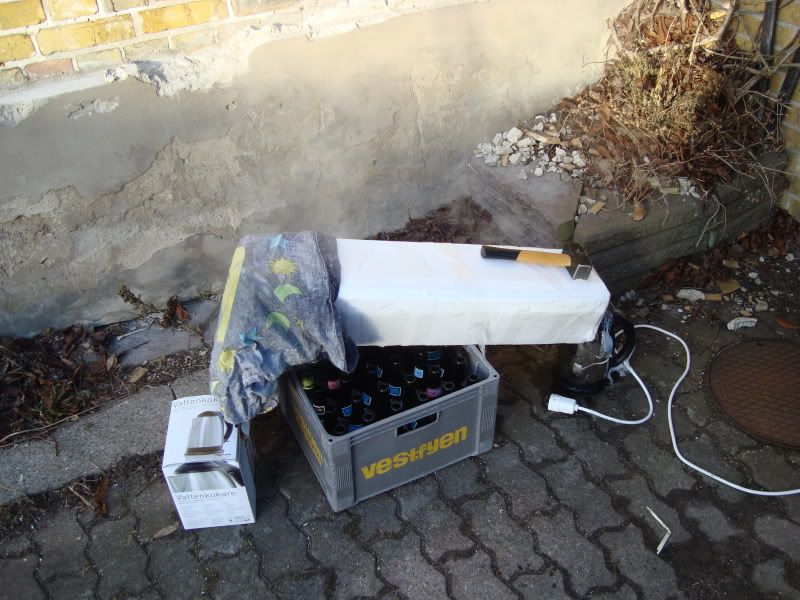
but in the end i had them all fitted, and made myself a steam box, using an electric kettle for the steam.

Photobucket

it worked fairly well, though it's not too solid, so i had to repair it between every round of steaming.

the bending however... worked fantastically.... bad.

Photobucket

out of 15 i broke 14.
and the 15'th was a bit wonky... but i figured, it was "good enough"...

Photobucket

if i have a chance i'll make a new one for it, but as it looks right now i've only got 7 extra ribs to replace broken one's, which means i'll most likely have to go buy more wood and try again next week, but i'll have to see how tomorrow goes first.

Monday 14 March 2011

Day 2

I was planning on getting two days work done this weekend, but ended up going away saturday for my grandfathers 90'th birthday.

I did get a bunch of work done sunday, though i had no camera, so no pictures this time :<
i finished off the rib mortises (yay router). though they're a bit narrow, so i have to widen them with a file next weekend.
then i put the gunwales in the forms, and while i was considering wether i should do mortises or dowels for the deck ribs i decided to just be lazy and screw them in.
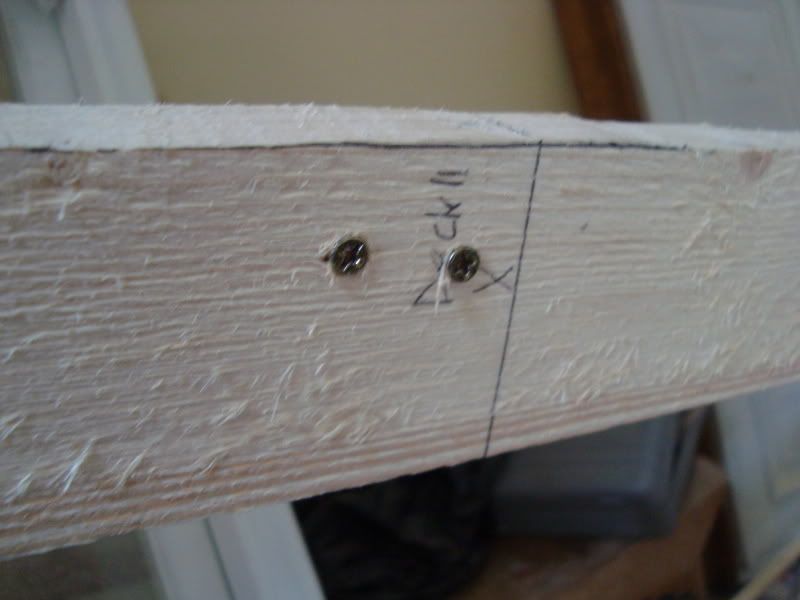
so i got some 5 cm screws and stuck two in each side of every rib.
it feels very solid, and now the frame is stuck together.
i also ripped the rib material, and will be going out today with a tub to soak them, hoping to get bending this weekend.
work still needing to be done:
bending ribs.
raised deck beams over my legs.
masik.
stemplates.
chines/keel.

i'm hoping to be able to do all this in 2 weekends, and i have mailed the guy who owns www.groenlaender.de to order the nylon cloth.

moving forwards, hopefully i'll have some more pictures and possibly a rib bending video next week :D

Sunday 6 March 2011

day 1!

finally got started on the kayak last sunday.
spent roughly 400 swedish crowns on the wood... and probably over 1000 on various tools (clamps, some sawhorses, a japanese pull saw, the plane i used for the paddle).

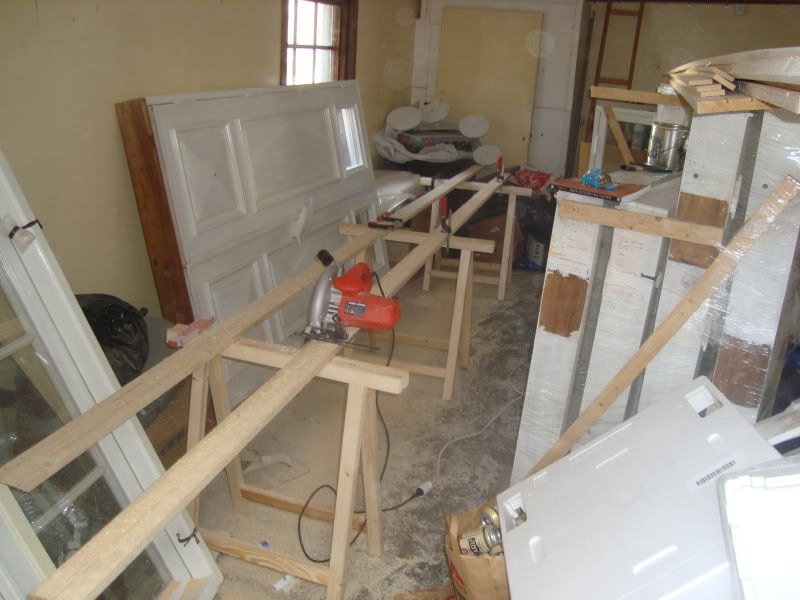
I got the wood to my dad's garage, and started cutting out the gunwales, chines and keel.
my gunwales are 22mmx75mm and 4.8 metres long.
i would have preferred them 30 cm longer, but it was the longest they had.
the chines and keel are 22x22 and the same length.

So i got 3 planks that were 22mmx120mm, and got cracking with a circle saw.

Photobucket

I messed up one of the gunwales, the wood cracked where i cut it and took of a large gash that i didn't like the look of.

Photobucket

luckily i had a third, and the broken gunwale could still be used to cut into 2by2's for the chines and keel.

however the wood was cheap, and cheap means there are some knots in it, and my chine broke.

Photobucket

but, in the end, i managed to get just what i needed out of the 3 planks i got.

Photobucket

next up, copying the measurements i made to the gunwales.

Photobucket

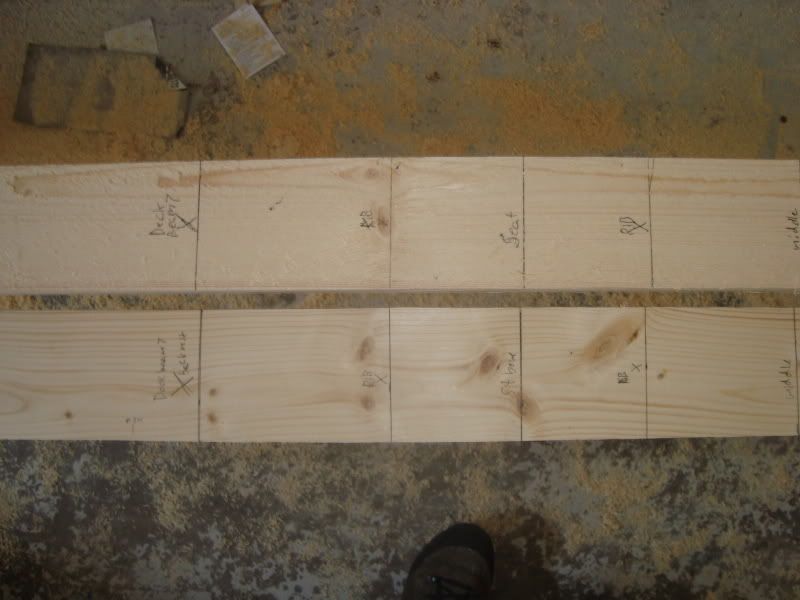
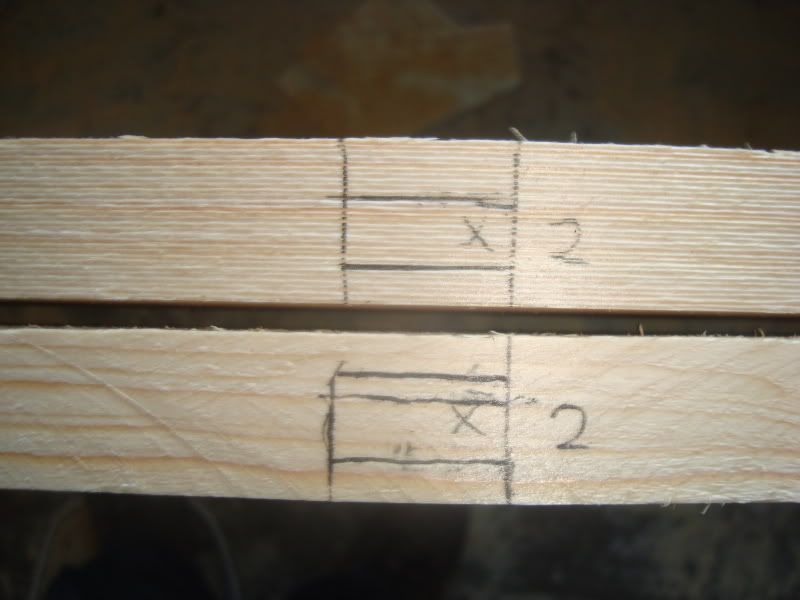
and once I had marked out all the locations of the deck beams and ribs, i started drawing the mortises for the ribs.

Photobucket


once i finished drawing them all up, i got the drill out, and started with the tactic of drilling two holes and one in the middle, however the drill ran out of batteries after the first 3 mortises, so i decided to skip ahead a bit in the book and do other things that didn't depend on the rib mortises being cut.

I marked out the sheer, and cut a little bit off one of the gunwales, but decided it was getting too dark to see properly with the little lamp i had so i decided to go home and come back next weekend.
Photobucket

going back out for more building on saturday, and I'm planning on staying out there and working sunday too.
hoping to get all the mortises cut and if i'm lucky maybe all the deck beams cut and fitted.
but, we'll see. should be another update sometime during next week :)

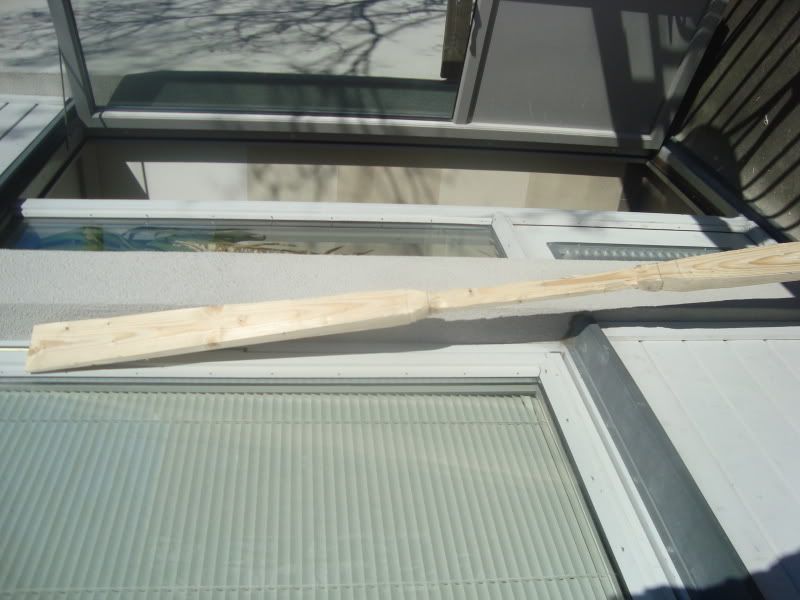
paddleworks!

so, tuesday i went and bought a couple of planks.
4.5x12 CM, and 2½ meters long.
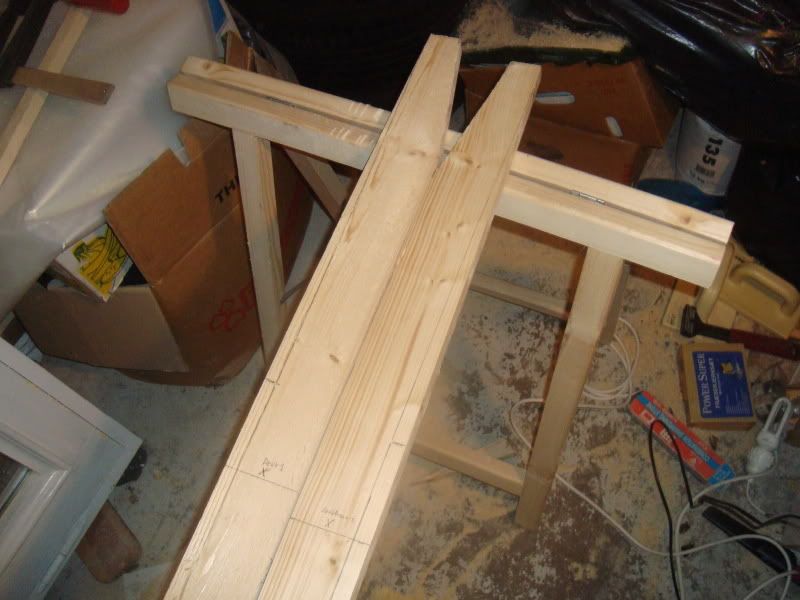
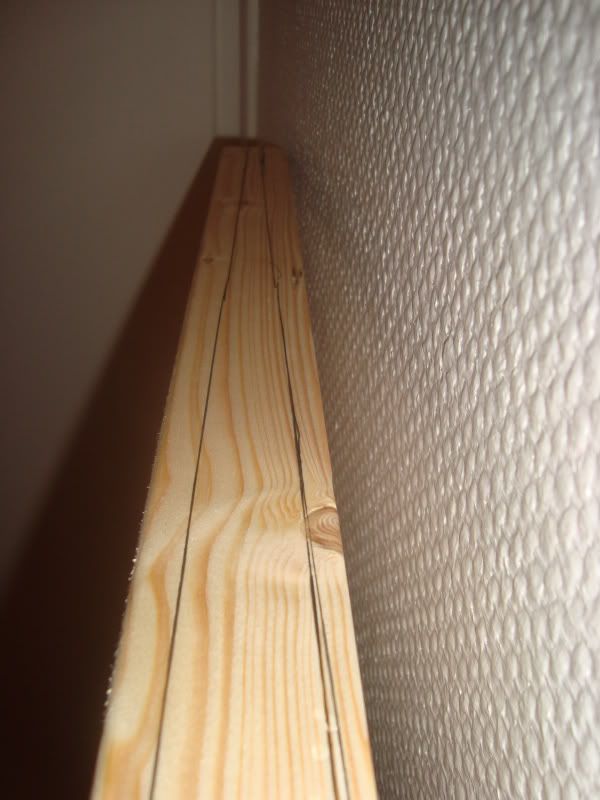
i sawed off the end 25 cm, and marked out the bits i wanted to plane off.
Photobucket
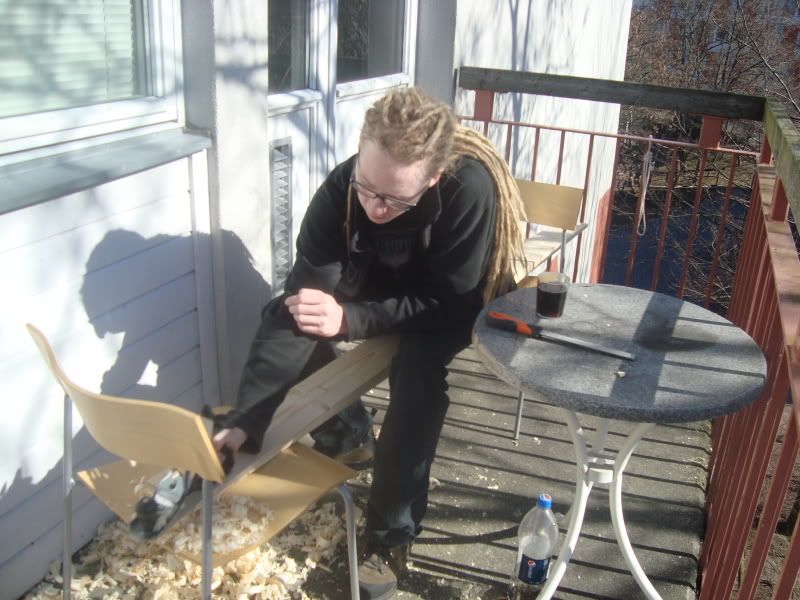
time to get planing! :D
Photobucket
once that was done (roughly 2½ hours of work) it's time to cut out the actual paddle shape.
Photobucket
Photobucket
starting to look like a paddle, time to get the actual shape started.
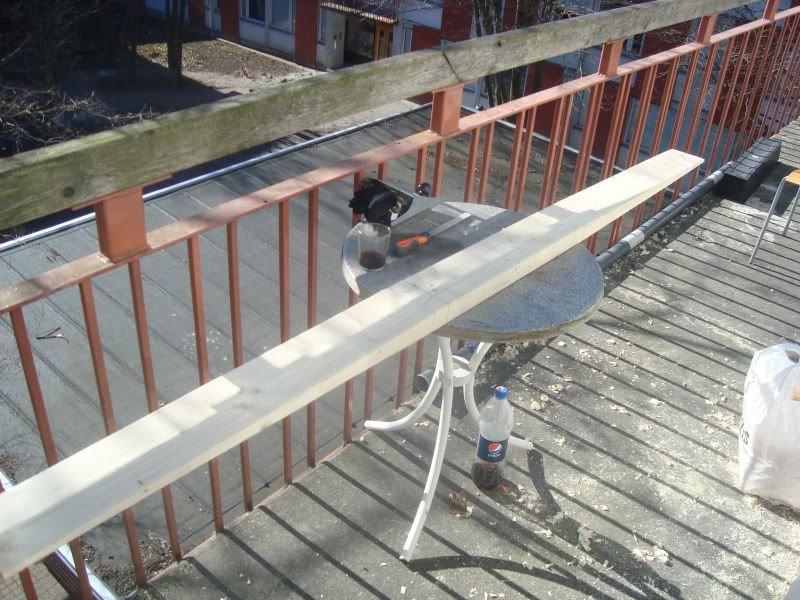
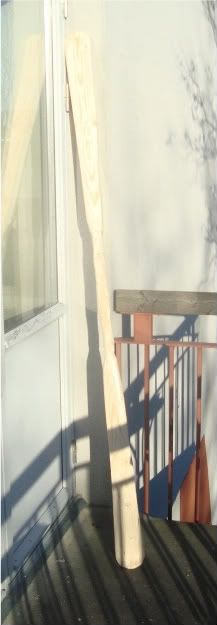
a good deal of rasping and sandpapering later, it's mostly done.
Photobucket
i'd like to give it a go with my dads sandpaper machine to save some time, but it'll have to wait till next weekend.
but considering i haven't got a kayak yet, it's no real rush.