Tuesday, 26 April 2011

pictures!

ok, went a while without access to a camera there, but now i finally managed it. :P

I made the coaming, with a flange all the way around:

Photobucket

it doesn't look too good in the back, but I'll smooth it over when i finish it, i had to put an extra piece of wood on there to hold it together that I'm planning on removing when i stich it together.

The finished frame:
Photobucket

Photobucket

and i think the masik is strong enough even though i cut it out of a straight piece instead of the curved one:
Photobucket

next weekend: skinning! :D

Wednesday, 13 April 2011

Frame Finished!

I went out last night and put on the forward deck stringer, which means the frame is officially finished.

Work still needing to be done:
Oiling the frame (possibly twice)
Bending the coaming (the ring that will be around my waist)
Sewing on the skin.
Painting the skin to waterproof it.

I will upload some pictures of the finished frame next friday when i go out to oil it.

Monday, 11 April 2011

evening work

I went out again yesterday after work, picked up some more wood on the way, and cut the masik out of a 12x5 cm plank of fir.
It's not as strong as it could be, but it's strong enough for me to be able to stand on it without problems.

I also made the deck ridges behind me and cut the one's in front of me to lenght, but didn't have time to finish them, though I'm considering going out and doing that today so I have the frame finished.

no pictures unfortunately :P

Day 7 and 8

Kind of a slow annoying weekend...

I went out saturday, and made the two arched deck beams with no problems, then I started on the masik with the large curved piece of lumber I'd found.

Photobucket

I've reached the conclusion that it is probably easier to do that with a bandsaw, and that it's practically impossible with a handsaw, as i spent 3 hours working on it, making kerfs and hacking the wood off, and didn't get a proper flat surface, and in the end I think I took too much off it in some places and decided to give up on it.

then I tried putting the skin over the kayak, to make sure it fit.
I clamped it in one end, and pulled it over the kayak, and about 70 cm before reaching the other end the cloth ended...

Photobucket

I've mailed the guy I bought it off and he will send me a new piece on thursday, so it should get here before easter.

Sunday I was planning on getting the plank I intended to make into a second paddle, and use a piece of that for the masik, but when I went out to the hallway where I had it, it was missing...
Apparently someone stole a 2m plank of wood with half of one side chipped off...
And of course the lumberyard is closed on sundays, so I couldn't go buy a new piece either.

In the end I settled for oiling the frame with raw linseed oil and going home.

Photobucket

Monday, 4 April 2011

I went out Sunday, and had a bit of trouble, because i forgot to bring the book.
however, I've read most of it a few times now, and read lots of other blogs, so i forged on.

I messed up the first stem piece I tried I messed up, because I forgot that it had to go all the way to the top of the gunwales, but i could use the piece to make the other stempiece so in the end i got two functional pieces.

Photobucket

Photobucket

I clamped the keel on, and started lashing it.
as i didn't have the book i didn't use the exact lashing method he suggests, and i used a thread that wasn't completely flat (1,4mm thick polyester building line).
but the lashing went fast and painless, there was one point on one chine when i needed fairing blocks on 3 ribs in a row, but apart from that it was no problems.

Photobucket

Photobucket

I also made one of the little blocks that tie together the stemplate and gunwhales, but didn't have time to do the other.

Photobucket


all in all, I think I got a good days work done.

Photobucket

EDIT: Picked upp the cloth at the post office too!

Photobucket

Sunday, 27 March 2011

Day 5

I had another go at bending the ribs today.

I cut out 5 pieces, and thinned the ends with a rasp, and cut the ends a bit narrower to fit in the mortises.
While they were in the steam box I prepared the next 5 ribs, this was a lot more efficient than what i did last week with cutting out all the ribs, and then just kinda standing around while they cooked in the steamer.

when i popped the first rib in the jig, it bent perfectly, no cracks, no groans, no places where it just bent 90 degrees instead of curving...
and when i fit it into the mortises it worked great.

I broke 5 or 6 ribs, out of 23, and 3 of them was the 24'th rib which i decided to skip after breaking 3 of it.

Photobucket

there were some minor cracks on 4 or 5 ribs, but i threw some wood glue in and tied it up and it should work fine.

Photobucket

One of the gunwales split a little bit too, but again, some glue and pressure should help, and it was near one of the ends anyways.

Photobucket

Not that much to report... all in all a perfect day. all ribs cut, bent and fitted in about 5 hours.

Also, my skin arrived in the mail, but I didn't find out until the post office closed so I'll get it next weekend when I go out there.

Sunday, 20 March 2011

Day 4

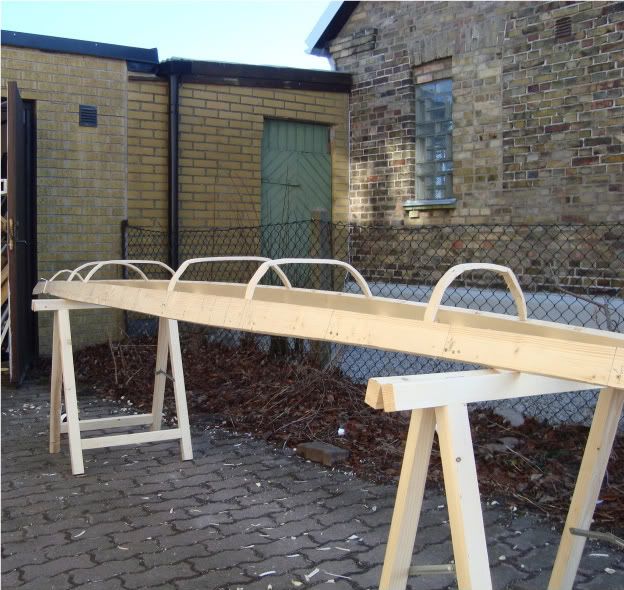
Well, I expected to break a lot of wood this weekend...
However, I still expected to be able to make all the ribs with the wood i had. (I even made sure the grain was the right way because i read someone else's blog about that)

Of the 30 or so meters of wood i had, i managed 6 ribs that were... not good enough... but not broken in two...

Photobucket

I had them soaking in water for 4-5 days before bending them, the steam box worked well (scalded my finger quite a lot because i had a hole in my glove), but regardless, they all cracked a little bit when I bent them in the jig, which of course only got worse when I tried to bend them into the mortises.

Photobucket

Photobucket

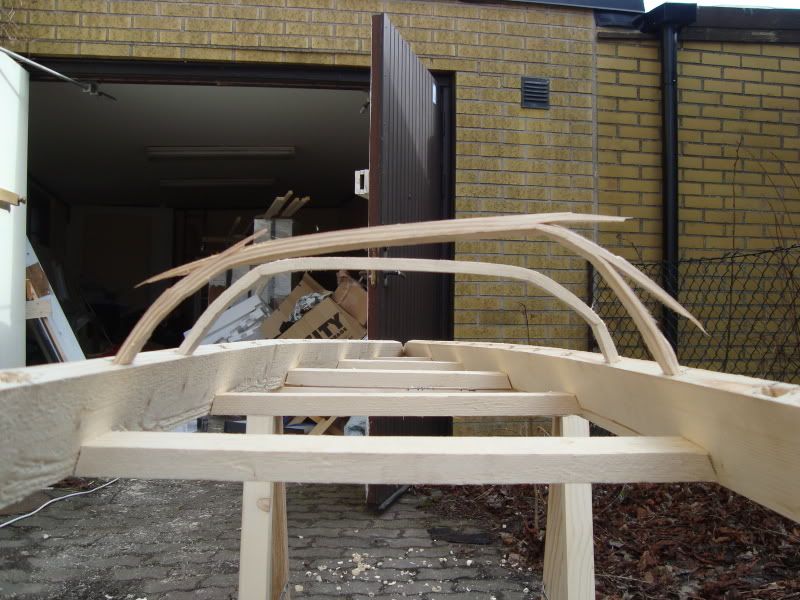
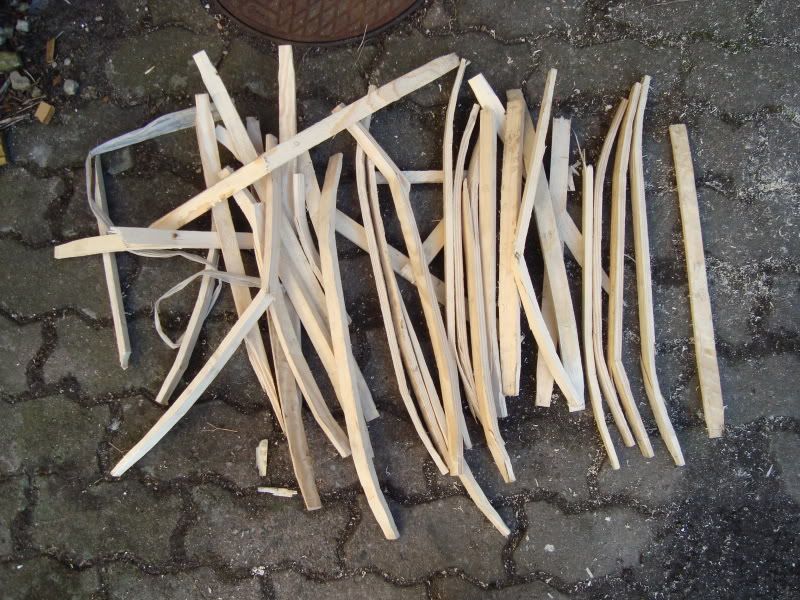
In total I think I broke near 40 ribs.
I tried steaming them shorter time (10 minutes) and I tried longer (all the way up to 25).
steaming them for longer helped a bit, but they still buckled and cracked rather than bend smoothly.

I think the main problem was the wood. it was very cheap and low quality.
However another problem was that I didn't have the necessary tools to make the thinning near the ends smooth. I just thinned them with a knife, and i saw that more than one of the breaks were in spots where I'd made it a bit too thin with the knife.

As I ran out of wood around 3 I decided I needed to try to get some other wood for my next attempt.
We went to the same place, as the only other place I could possibly get lumber within a 2 hours drive isn't open on sundays.
We found some "List" wood (google translate was not helpful here, baseboard?).
It was 21mmx8mm, and cost 5 Swedish a meter. absolutely perfect!
I bought 21 meters, cut it up to fit in my box, and set it all to soaking.

Photobucket

Photobucket

Photobucket

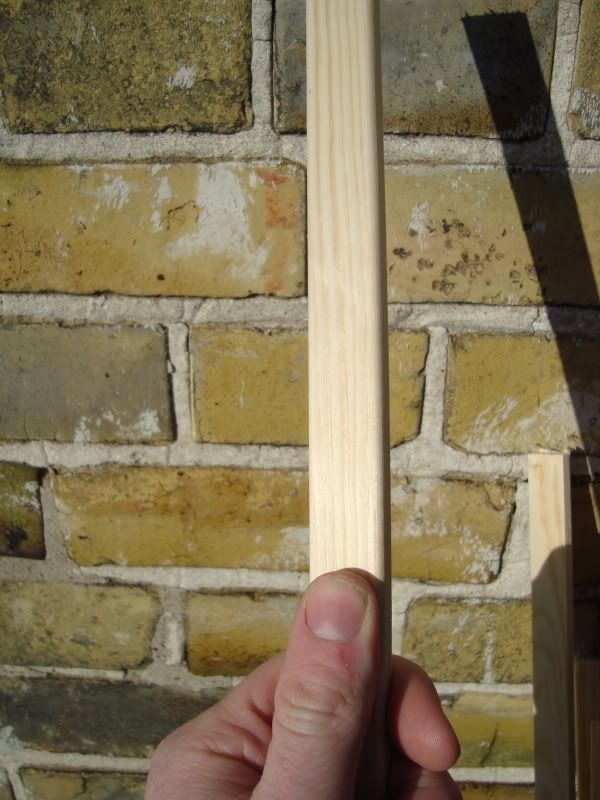
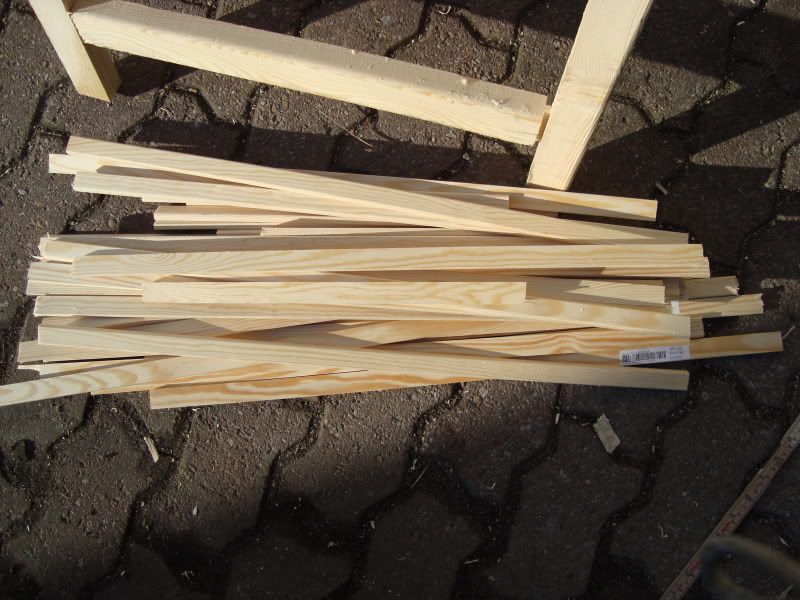
There's still some diagonal grain here and there, but mostly it looked good, and the wood felt a lot better than the first batch, and i was able to bend this a bit already, so i'm expecting it to get better with soaking and steaming.

We'll have to see, but i may not have the time to go out and give it a try next weekend, so it may get 2 weeks of soaking. :P